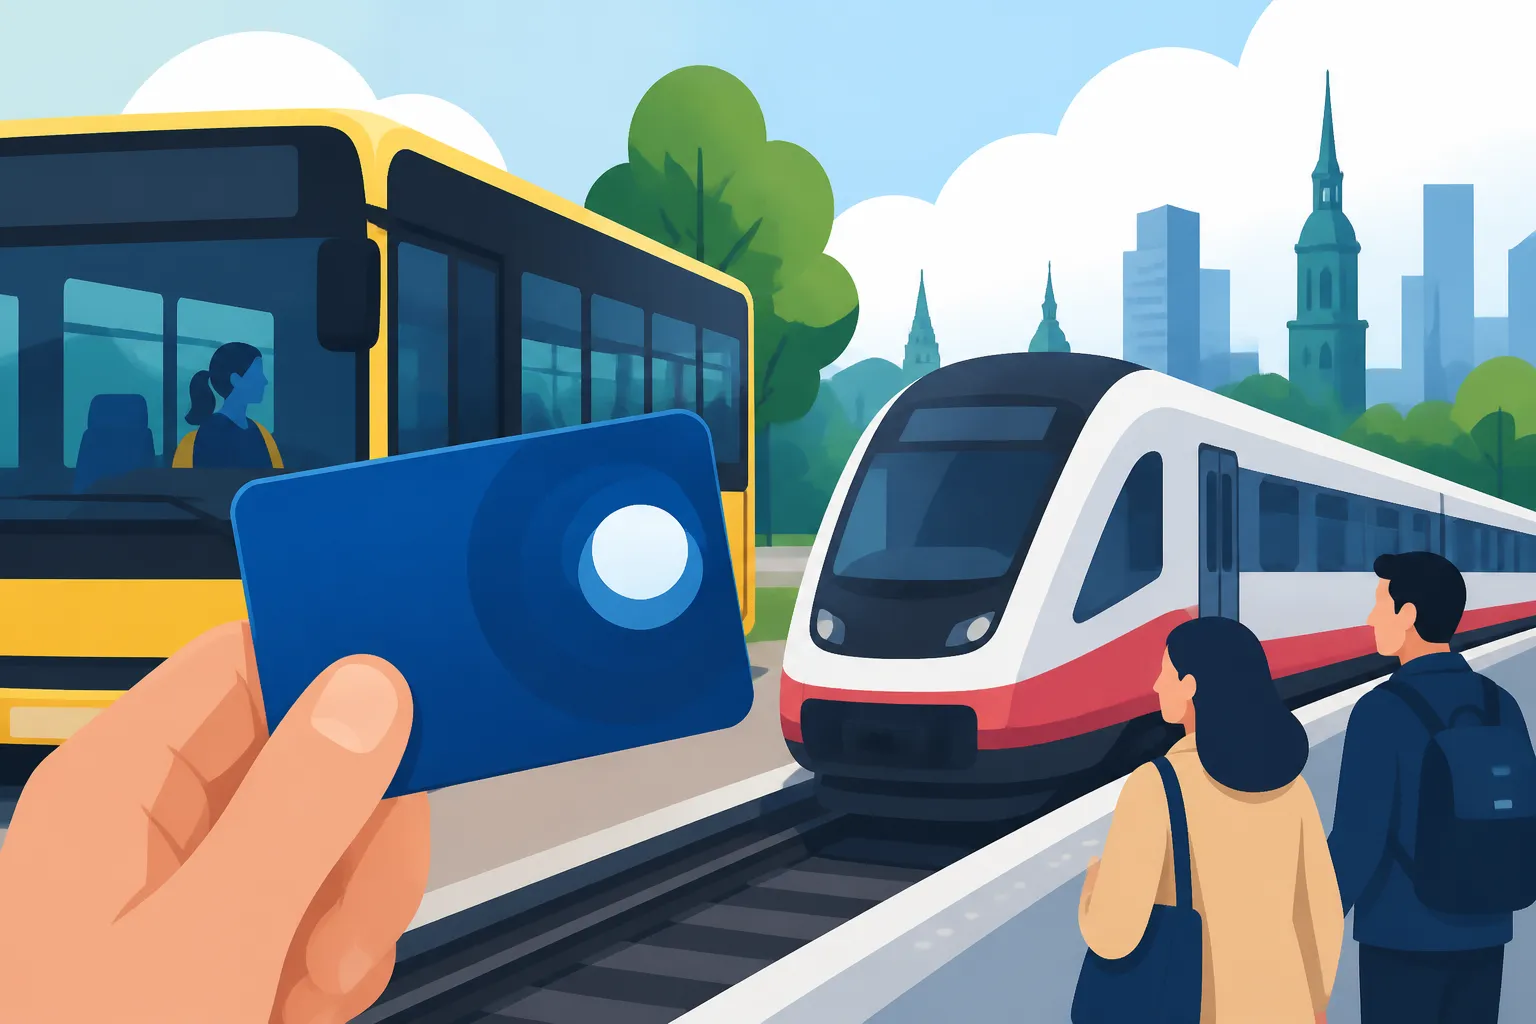
Public Transport in Denmark: Rejsekort, Trains, and Commuting
Navigating Denmark’s public transport system can feel like trying to solve a Rubik’s cube while blindfolded during your first few weeks. Between the invisible "zones" that dictate your fare and the rhythmic "beep-beep" of the Rejsekort machines, the learning curve is steep. This guide breaks down every facet of Danish transit, from the driverless Metro to regional trains, ensuring you never face a 750 DKK fine for a simple mistake.
The Rejsekort System: More Than Just a Plastic Card
If you plan on living in Denmark for more than a few days, the Rejsekort is not optional; it is your lifeline. This blue-and-white electronic ticketing system has replaced almost all paper tickets across the country. It works on a "check-in, check-out" basis, calculating your fare based on the distance traveled and the number of zones crossed. However, for a newcomer, the system feels less like a convenience and more like a series of opportunities to get fined. I remember my first month in Copenhagen, staring at the blue dots on the platform, wondering why some people tapped once and others tapped three times.
The system is designed to be seamless, but it requires a level of mindfulness that can be exhausting when you are still struggling to find your way around. You must tap your card on the "Ind" (In) reader at the start of your journey and every time you change vehicles—be it from a bus to a train or one bus to another. The only exception is the Metro, where you only check in at the start of the station. The most critical step, and the one most expats fail at initially, is the "Ud" (Out) tap. If you forget to check out at your final destination, the system assumes you traveled to the end of the line and charges a hefty default fee.
For those still searching for a permanent home, perhaps using a service like Spotahome to find a long-term rental, getting your hands on a Rejsekort should be your first priority after landing. Without it, you are stuck buying expensive single tickets at machines or through an app, which can cost nearly double the Rejsekort rate. The card also offers "off-peak" discounts, meaning if you travel outside the morning and afternoon rushes, the system automatically deducts a percentage from your fare. It is a smart system, but it is a rigid one that demands you follow its logic without fail.
Personal vs. Anonymous Cards
There are two primary types of physical Rejsekort: Personal and Anonymous. The Personal Rejsekort is linked to your CPR number and name. It offers the lowest possible fares and the ability to set up an automatic top-up (tank-op) agreement, so you never run out of funds mid-journey. However, it takes about one to two weeks to arrive in the mail. If you are still waiting for your CPR registration, you will likely start with an Anonymous card. You can buy these at 7-Eleven stores or DSB ticket offices for a fee of 80 DKK.
The Anonymous card is useful because it can be shared among multiple people, but it has significant downsides. First, the minimum balance required to start a journey is higher (usually 70 DKK compared to 25 DKK for the personal version). Second, if you lose it, the balance is gone forever. With a Personal card, you can block it online and have your balance transferred to a new card. For many, the ultimate goal is Buying a Rejsekort (Travel Card): Anonymous vs. Personal Cards as soon as they have their address settled to maximize savings.
The Check In, Check Out Ritual
The "check-in" process is your contract with the transit authority. When you tap in, the machine displays your current balance. If you are changing from an S-train to a bus, you must tap "Ind" on the bus. This doesn't start a new journey; instead, it continues your existing journey, ensuring you aren't double-charged for the base fee. The "check-out" at the end is where the calculation happens. The screen will briefly show how much the journey cost and what your remaining balance is.
If you ever forget to check out, don't panic immediately. There is an app called "Rejsekort Check ud" that allows you to report a forgotten checkout within 24 hours. It uses your phone's GPS to verify where you ended your journey. This is a lifesaver for those days when you’re rushing home in the rain and completely blank on the blue pedestal. However, you can only use this feature a limited number of times per year, so it is not a substitute for building the habit of tapping out.
Topping Up and Auto-Reloads
Managing your balance is the next hurdle. If you have an Anonymous card, you must manually top it up at kiosks or machines located at every station. This can be a pain if you're in a rush and the machine is acting up. The Personal Rejsekort solves this with the "tank-op" agreement. You can set it so that every time your balance drops below 50 DKK, the system automatically pulls 100, 200, or 500 DKK from your bank account.
This level of automation is great, but it requires a Danish bank account and MitID. While you are getting those sorted, you might find yourself relying on mobile data to use the Rejsekort app or check schedules. This is where having a reliable data plan is essential; using a service like Airalo for an eSIM can ensure you have the connectivity needed to manage your transport apps before your local Danish SIM card is active. It prevents that heart-sinking moment when you're at a bus stop with no money on your card and no way to top it up because the station is two kilometers away.
The Train Network: DSB, S-tog, and Regional Lines
Denmark’s train network is the backbone of the country’s infrastructure. It is divided into three main categories: the S-tog (S-trains) which serve the Greater Copenhagen area, the Regional (Re) trains which connect the suburbs to the cities, and the Intercity (IC/ICL) trains that zip between major hubs like Aarhus, Odense, and Aalborg. DSB (Danske Statsbaner) is the state-owned operator for most of these lines, and while they are generally efficient, the "signal errors" (signalfejl) are a common local meme that you will eventually come to appreciate—or loathe.
The S-trains are particularly iconic with their red exteriors and spacious "flex-zones" where you can bring bikes and strollers for free. They run like clockwork through the "finger plan" of Copenhagen, reaching out to suburbs like Hillerød and Køge. If you are commuting from the outskirts, the S-train will be your best friend. For longer trips across the country, the Intercity trains offer a much higher level of comfort, including "Stillezoner" (Quiet Zones) where talking or using a phone is strictly forbidden—a rule Danes take very seriously.
Understanding the difference between these trains is crucial for your wallet. While a Rejsekort works on almost all of them, for long-distance travel, you can often find "DSB Orange" tickets on the DSB app. These are heavily discounted tickets for specific departures that can cost as little as 99 DKK for a trip from Copenhagen to Aarhus, whereas a Rejsekort or standard ticket might cost 400 DKK. The catch is that Orange tickets are non-refundable and tied to a specific train time.
The Copenhagen S-Train Experience
The S-train system consists of seven lines (A, B, Bx, C, E, F, and H) that all converge at the central stations like Nørreport and København H. One of the best things for expats is that Taking a Bicycle on the S-Train and Metro is incredibly easy. On the S-train, bikes are free, provided there is space in the designated carriages. This makes "multimodal" commuting—biking to the station, taking the train, and biking to the office—the standard way of life here.
Inside the S-train, you’ll notice the seats are arranged in clusters. During rush hour, the trains can get packed, but there is an unspoken rule of silence. You won't hear many loud phone conversations or music. If you are looking for housing, using Spotahome to find a place near an S-train station is highly recommended, as it connects you to the city center in minutes, often more reliably than the bus network.
Intercity (IC) and Regional (RE) Travel
Regional trains are slightly faster than S-trains because they make fewer stops. They are the primary way to get to Roskilde or Elsinore. Intercity trains are the "big" trains. They feature toilets, power outlets, and often a trolley service for snacks. If you are traveling on an IC train on a Friday afternoon or a Sunday evening, I cannot emphasize this enough: book a seat reservation (pladsbillet).
A seat reservation costs 30 DKK and guarantees you a spot. Without one, you might find yourself standing in the vestibule or "seat hopping" every time someone with a reservation boards. The displays above the seats will show if a seat is reserved and for which segment of the journey (e.g., "Odense – Aarhus"). If the display is blank, the seat is free. How to Choose and Change Your General Practitioner (GP) in Denmark might be your priority for health, but knowing how to secure a seat on a three-hour train ride is your priority for sanity.
Booking Seats and DSB 1' (First Class)
DSB 1' is the first-class offering on regional and Intercity trains. It provides larger seats, free coffee, tea, water, and newspapers. In the mornings, they often serve a small breakfast. Is it worth the extra cost? For a daily commute, probably not. But for a long trip across the Great Belt Bridge, it can be a nice luxury.
You can upgrade to DSB 1' through the app or at a ticket machine. However, the standard of Danish trains is quite high, so the "Standard" class is perfectly adequate for most travelers. If you find yourself frequently traveling for work, your employer might even cover the cost of a "Business" ticket, which includes seat reservations automatically. Always check the DSB app for the latest schedules, as it provides real-time updates on delays and platform changes.
The Copenhagen Metro: Driverless Efficiency
The Copenhagen Metro is often cited as one of the best in the world. It is fully automated, driverless, and runs 24 hours a day, 7 days a week. There are currently four lines: M1 and M2 (which share a track through the center before splitting toward Vestamager and the Airport), M3 (the Cityringen, a circular line), and M4 (connecting the North Harbor to the Southern Harbor).
The Metro is clean, fast, and frequent. During peak hours, trains arrive every 2 minutes. Even at 3 AM on a Tuesday, you won't wait more than 15-20 minutes. For many expats, the Metro is the reason they choose to live in neighborhoods like Amager or Frederiksberg. It makes the city feel small and accessible. If you've just arrived and are using Airalo to navigate, the Metro stations all have excellent cellular reception, so you can keep your maps updated while underground.
M1, M2, M3 (Cityringen), and M4
The M1 and M2 lines are the oldest but remain the workhorses of the system. M2 is particularly vital as it connects the city center to Copenhagen Airport (CPH) in just 13 minutes. If you are a frequent traveler, living near an M2 station is a game-changer. The M3 Cityringen, opened in 2019, connects the major "bridge" neighborhoods: Vesterbro, Nørrebro, and Østerbro. It has completely changed how locals move across the city, as you no longer have to go through the city center to get from one side to the other.
The M4 is the newest addition, serving the rapidly developing districts of Nordhavn and Sydhavn. These areas are popular with expats working in tech and architecture. When viewing apartments on Spotahome, check the walking distance to the nearest Metro station. In Copenhagen, anything under a 10-minute walk is considered "well-connected."
Metro Etiquette and the "Door Warning"
There are a few quirks to the Metro that you should know. First, the doors close quickly. When you hear the "beep-beep-beep" alarm, do not try to jump through the doors. Unlike some systems where the doors will bounce back if they hit an object, the Metro doors are persistent and being caught in them is both dangerous and embarrassing.
Second, the front of the train has a large window instead of a driver's cab. This is the "prime real estate" of the Metro. Kids (and adults) love to sit there and pretend they are driving the train. If the front seats are open, take them—it’s the best view of the tunnels you’ll ever get. Finally, remember to tap your Rejsekort at the stands on the platform before you descend to the tracks. There are no turnstiles in the Danish system, which can make it easy to forget to pay, but inspectors frequently patrol the cars.
| Transport Mode | Best For | Bike Policy | 24/7 Service? |
|---|---|---|---|
| S-tog | Suburbs & Commuting | Free & Always allowed | Weekend nights only |
| Metro | City hopping & Airport | Requires a ticket | Yes, always |
| Regional Train | Inter-city / Cross-country | Requires a ticket | Limited |
| City Bus | Short distances / Local | Allowed (limited space) | Yes (Night buses) |
Buses and Light Rail: Navigating the Local Routes
While the trains and Metro handle the heavy lifting, buses fill in the gaps. In Copenhagen, the bus system is run by Movia, and the buses are easily identifiable by their bright yellow color. In other cities like Aarhus and Odense, you will encounter the "Letbane" (Light Rail), which acts as a hybrid between a tram and a train.
Buses can be intimidating for newcomers because the stop names are often hard to pronounce, and the routes can be winding. However, the buses are equipped with screens showing the next stop and the estimated time of arrival. In the major cities, you board the bus through the middle or rear doors if you have a Rejsekort or mobile ticket. You only need to enter through the front door if you need to buy a ticket from the driver with cash—though this is increasingly rare and discouraged.
City Buses (The Yellow and Blue Lines)
The yellow buses are the standard city lines. However, you will also see "A-buses" (red corners), "S-buses" (blue corners), and "N-buses" (night buses). A-buses are the most frequent, often running every 5-7 minutes during the day. S-buses are "express" versions that stop less frequently and are designed for longer commutes across the city.
One important thing to note is that Supermarkets in Denmark: Netto, Rema 1000, and Føtex Compared often cluster around major bus hubs. If you are doing a big grocery run, the bus is a viable option, but be mindful of the space. During rush hour, bringing large bags or strollers onto a bus can be a struggle. Most buses have a dedicated middle section for strollers and wheelchairs; if that space is full, the driver may ask you to wait for the next bus.
The Aarhus and Odense Light Rail (Letbane)
If you find yourself in Aarhus or Odense, the Light Rail is the crown jewel of their transit systems. In Aarhus, the Letbane connects the waterfront to the University and out into the suburbs. It’s quiet, smooth, and much faster than the old bus routes it replaced. The ticketing works exactly like the rest of the country—you use your Rejsekort.
In Odense, the Light Rail was completed recently and has transformed the city center into a pedestrian-friendly zone. It’s a point of pride for the city. If you are an expat living in Aarhus, How to Find a GP Accepting New Patients in Aarhus might involve a trip on the Letbane to reach a clinic in the northern suburbs. The system is incredibly intuitive, with stations that look like sleek, modern bus stops.
Night Buses and Peak Hour Etiquette
When the regular buses stop running (usually around midnight or 1 AM), the N-buses take over. These follow different routes and are marked with an 'N' after the number (e.g., 97N). Be aware that on some older ticketing systems, night buses used to cost double, but with the Rejsekort, the price is generally the same, though you miss out on off-peak discounts.
Etiquette on Danish buses is straightforward: move to the back to let others on, don't put your bag on the seat next to you if the bus is getting full, and always press the "Stop" button well in advance of your station. If you have a bike, you can bring it on most buses outside of rush hour, but you must buy a separate "bicycle ticket" on your Rejsekort by pressing the "Cykel" button on the check-in machine.
Ticketing, Zones, and the Rejseplanen App
The most confusing part of Danish transport is the "Zone" system. Copenhagen and its surroundings are divided into 99 zones. Your fare is determined by how many zones you travel through. A standard "2-zone" ticket is the minimum and covers most trips within the city center. However, if you head to the airport, you cross into Zone 3, requiring a 3-zone ticket.
If this sounds like a math nightmare, you aren't alone. Most Danes don't even know exactly which zones they are in at any given time. This is why the Rejsekort is so popular—it does the math for you. But if you are buying a single ticket, you need to be careful. If you buy a ticket for 2 zones and the inspector catches you in the 3rd zone, you will be fined, regardless of whether it was an honest mistake.
Understanding the Zone Map Mystery
The zone map looks like a colorful target. Zone 1 is the very center of Copenhagen. Zones 2 and 3 form the next ring, and so on. The rule is that you pay for the number of zones you pass through, including the one you started in. For a detailed breakdown, you should read Navigating Zones in Copenhagen: How Ticket Pricing Works.
The most important thing to remember is that your ticket is valid for a specific amount of time based on the number of zones. A 2-zone ticket is usually valid for 60 minutes, while a ticket for more zones might be valid for 90 or 120 minutes. During this time, you can switch between buses, trains, and the Metro as much as you like without buying a new ticket.
Single Tickets vs. Commuter Passes (Pendlerkort)
If you are a daily commuter, the Rejsekort might actually be more expensive than a "Pendlerkort" (Commuter Pass). A Pendlerkort allows for unlimited travel between specific zones for a fixed monthly price (usually around 400-600 DKK for the city center). You can buy this through the "DOT Billetter" app.
There is also a hybrid option called "Pendler20," which gives you 20 days of unlimited travel within a 60-day period. This is perfect for those who work from home a few days a week. If you're staying in a temporary spot found via Spotahome while you look for a permanent home, a Pendlerkort can save you hundreds of kroner while you explore different neighborhoods.
The Rejseplanen App: Your Digital North Star
If there is one app you must download immediately, it is Rejseplanen. It is the definitive authority on how to get from point A to point B in Denmark. You simply type in your destination, and it will tell you exactly which bus, train, or Metro to take, which platform to stand on, and even how much the journey will cost.
The app integrates real-time data, so if a train is delayed, it will suggest an alternative bus route. It also shows the walking distance to the station and provides a map of the area. Since it relies heavily on GPS and data, ensure your Airalo eSIM is active so you aren't left stranded without a map. Rejseplanen is so reliable that most Danes don't even bother looking at the physical timetables at stations.
Commuting with Bikes and Cars: Integration and Rules
Denmark is a country where transport modes are meant to be mixed. You might bike to the station, take the train, and then use a car-sharing service for the final leg if it’s raining. This "seamless" integration is the goal, but each mode has its own set of rules.
Biking is the primary mode of transport for many, and the infrastructure reflects that. Most train stations have massive bike parking areas (both open-air and covered). However, bike theft is the most common crime in Denmark. Always use a high-quality lock, and if possible, lock your bike to a fixed object.
Taking Your Bike on the S-Train and Metro
As mentioned, bikes are free on the S-train. Look for the carriages with a large bike symbol on the window. Inside, there are racks and "tip-up" seats. During rush hour, these areas can get very crowded, so be prepared to stand with your bike. On the Metro, however, bikes are not free. You must pay a small fee (usually around 13 DKK) which you can add to your Rejsekort or buy via the DOT app.
Furthermore, bikes are not allowed on the Metro during rush hour (7:00-9:00 and 15:30-17:30). If you try to board with a bike during these times, the staff will stop you, or worse, another passenger will give you a very stern "Danish look." For more on the cycling life, check out Danish Cycling Culture: Rules, Buying a Bike, and Safety.
Combining Public Transit with Car Sharing
Sometimes, public transport just doesn't cut it—like when you're moving furniture or heading to a remote part of the countryside. Denmark has several car-sharing services like GreenMobility and ShareNow. These are electric cars parked around the city that you can unlock with an app.
The beauty of these services is that they often have dedicated parking spots at major stations and in the city center where parking is otherwise impossible. You pay by the minute, and the price includes insurance and charging. If you are considering buying your own vehicle, be aware of the Buying and Registering a Car: The 150% Vehicle Registration Tax, which makes car ownership a luxury for most. Public transit and car-sharing are almost always the more economical choice.
Practical Tips for Foreigners and New Residents
To wrap up this guide, let’s talk about the "street smarts" of Danish transport. The system is built on trust, but it is a trust that is heavily verified. The lack of physical barriers at stations makes it feel like you could just walk onto a train without paying. Do not do this.
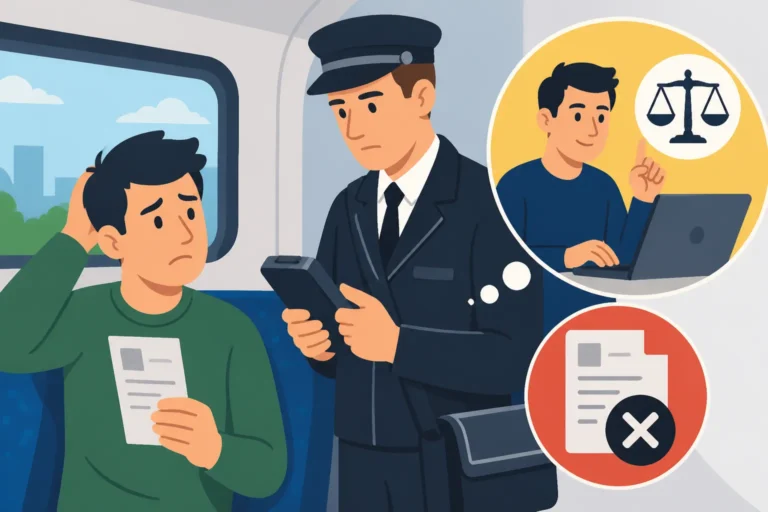
The inspectors (kontrollører) are often in plain clothes or appear suddenly at the next stop. They have no sympathy for the "I'm new here and didn't know" excuse. If your card isn't tapped or your ticket is invalid, you will be handed a 750 DKK fine (called a "kontrolafgift") on the spot. They will ask for your ID or CPR number and mail the bill to your address.
Fines and Ticket Inspectors (The "Kontrol")
If you do get a fine and you genuinely believe it was a mistake—for example, a machine was broken or your Rejsekort failed—you can appeal. Every transport company has a "klage" (complaint) department. You have 14 days to submit your appeal online. If you can prove the error was on their end, they will often waive the fine or reduce it to a small administration fee.
One common trap is the "last-minute" ticket purchase. If you buy a mobile ticket while the inspector is already standing in front of you, the timestamp will show you bought it after the train departed, which is considered fare evasion. Always have your ticket ready before you step onto the vehicle. For those who frequently forget their physical card, How to Download the Sundhedskort App on Your Phone isn't related to transport, but it's part of the same "digital first" mentality you need to adopt in Denmark.
Traveling with Children and Pets
Denmark is very family-friendly. On most public transport, an adult with a valid ticket can bring two children under the age of 12 for free. This makes family outings significantly cheaper. Once children turn 12, they must have a "Child" Rejsekort, which offers a 50% discount on adult fares until they turn 16.
Pets are also allowed. Small dogs in a bag or carrier travel for free. Larger dogs require a "Child" ticket. On trains, there are specific carriages where dogs are allowed, and others (like the Quiet Zone or Allergy-friendly zones) where they are strictly prohibited. Always look for the dog symbol on the door before boarding. If you're bringing a pet from abroad, make sure to read Bringing Pets to Denmark: Import Rules, Chips, and Passports to ensure they are legally registered before you take them on their first S-train adventure.
Disclaimer
This guide is intended for informational purposes only. While every effort has been made to ensure the accuracy of the information provided regarding the Danish public transport system as of 2026, rules, prices, and zone structures are subject to change by the authorities (DSB, DOT, Movia, Metroselskabet). Always verify the latest regulations and fare prices via the official Rejseplanen or DSB apps before traveling. The author and publisher are not responsible for any fines, delays, or inconveniences resulting from the use of this information.