Buying a Rejsekort (Travel Card): Anonymous vs. Personal Cards
Ah, Denmark! A land of beautiful design, efficient systems, and public transport that, once you get the hang of it, is truly a joy. But let's be honest, for us expats and newcomers, figuring out the Rejsekort system can feel like deciphering a secret code. It's not just about getting a ticket; it's about understanding the nuances of checking in, checking out, and choosing the right card for your journey. This guide is here to untangle all those little complexities, helping you navigate Denmark's public transport with the confidence of a seasoned local.
The Rejsekort: Your Gateway to Danish Public Transport
Stepping onto a Danish bus, train, or Metro, you'll quickly notice that most folks aren't fumbling for cash or paper tickets. Instead, they're confidently tapping a small, blue card against a reader. This is the Rejsekort – literally "travel card" – and it's the beating heart of public transport here. It's designed to make getting around seamless, efficient, and often, more affordable than buying individual tickets for every trip.
What is a Rejsekort and How Does It Work?
Think of the Rejsekort as Denmark's answer to London's Oyster card or the Netherlands' OV-chipkaart. It’s an electronic ticketing system that covers almost all public transport across the entire country: DSB trains, city buses, the Copenhagen Metro, and even local private railway lines. The fundamental principle is delightfully simple, yet often causes initial confusion: you check in at the start of your journey and check out at the end.
When you check in, the system registers your starting point and the number of zones you enter. It then reserves a potential maximum fare from your card's balance. When you check out at your destination, the system calculates the actual fare based on the shortest route and the exact zones you traveled through, and then refunds any excess of the reserved maximum fare. This means you only pay for the distance you actually travel. Sounds easy, right? Well, the trick is remembering to always check out, otherwise, the system will charge you the maximum possible fare for your trip, which can be quite a shock to your wallet. You'll see these blue card readers at every train station, bus door, and Metro entrance. Learning the check-in/check-out dance is truly key to avoiding unnecessary costs.
Why the Rejsekort is (Mostly) Essential for Expats
For anyone spending more than a few days in Denmark, the Rejsekort quickly moves from a convenience to an absolute necessity. While you can still buy single-use paper tickets or use the DOT Tickets app, the Rejsekort offers significant advantages. Firstly, it’s almost always cheaper per journey compared to buying individual tickets. The pricing structure is optimized for the card, often giving you discounts, especially if you travel during off-peak hours or cover longer distances. Imagine the frustration of constantly calculating zones and buying new tickets every time you switch from a bus to a Metro, or from a regional train to a local S-train. With a Rejsekort, it's one tap, and you're good to go.
Secondly, the sheer convenience factor is undeniable. No more scrambling for small change or worrying about app glitches when you're rushing for a train. One card, usable everywhere, makes life so much easier. This is particularly true if you're navigating the sprawling public transport network of a city like Copenhagen or Aarhus, where you might be using a combination of buses, Metro, and S-trains daily. For those just arriving, perhaps still searching for permanent accommodation through platforms like Spotahome, a Rejsekort simplifies your daily commute while you get settled. It's truly a no-brainer for long-term residents.
Unpacking the Anonymous Rejsekort: The Quick Fix
When you first land in Denmark, you're likely without a CPR number, MitID, or any of the other administrative essentials. This is where the anonymous Rejsekort swoops in like a helpful, albeit temporary, hero. It's a straightforward, no-fuss option that gets you moving on public transport without any bureaucratic hurdles.
Who Should Get an Anonymous Rejsekort?
The anonymous Rejsekort is perfectly suited for anyone who needs immediate access to public transport without the paperwork. This includes tourists exploring the beautiful Danish cities, short-term visitors here for a business trip, or new arrivals who haven't yet secured their CPR number and official address. If you're staying for less than a few months, or if you simply don't want the hassle of registering a card, this is your best bet.
It's literally "anonymous" – it's not tied to your personal identity, meaning anyone can use it. This also makes it a handy option for families or groups traveling together; you can simply tap the card multiple times for each person checking in, though you'll need to remember to specify the number of travelers at the card reader. For example, if you're traveling with two children, you'd tap once for yourself, then adjust the number of travelers to '3' before tapping again, ensuring everyone is correctly checked in. It’s all about flexibility when you’re not yet deeply integrated into the Danish system.
Buying and Topping Up Your Anonymous Card
Getting your hands on an anonymous Rejsekort is refreshingly simple. You can usually purchase one at larger train stations, Metro stations, and most 7-Eleven stores across the country. Just walk up to the counter, ask for a "Rejsekort Anonymt," and you'll typically pay a card fee (around 80 DKK) plus a minimum top-up amount (often 100 DKK). So, expect to pay roughly 180 DKK upfront. This gets you a card ready to use immediately.
Topping up is just as easy. You can do it at:
- Rejsekort machines: Found at most train and Metro stations. They accept Danish debit/credit cards and sometimes cash.
- 7-Eleven stores: Conveniently located throughout cities, they'll top up your card at the counter.
- Selected kiosks: Look for the Rejsekort logo.
A crucial point for anonymous cards: they typically require a higher minimum balance for travel, often around 70 DKK, to ensure you can cover any potential trip. This helps prevent people from getting stranded with an empty card. Unlike personal cards, anonymous Rejsekort cannot be linked to an auto-refill agreement (Tank Op Aftale) directly from your bank account, meaning you'll need to manually top it up whenever the balance runs low. It's a small inconvenience, but a trade-off for the immediate access it provides. For new arrivals, having a reliable internet connection is important, so consider an eSIM from a provider like Airalo to easily find 7-Eleven locations or check public transport schedules via the Rejseplanen app.
The Downsides: Lost Cards and Limited Functionality
While the anonymous Rejsekort is wonderfully convenient for short stays, it comes with a few significant drawbacks that can quickly become frustrating for longer-term expats. The biggest one is the "anonymous" aspect itself: if you lose your card, that's it. Your remaining balance is gone, completely unrecoverable, because the card isn't registered to anyone. Many an expat has felt the sting of losing a card with a hefty balance, a lesson learned the hard way. There’s no way to track it, block it, or transfer the funds.
Another limitation is the lack of personalized features. You can't access your travel history, benefit from any loyalty programs, or set up automatic top-ups from your bank account. The online portal for Rejsekort won't recognize your anonymous card in the same way it would a personal one. Furthermore, while it's cheaper than single tickets, it doesn't offer the same potential discounts that a personal card, particularly a Rejsekort Flex or Rejsekort Ung, might provide based on your age or frequent travel patterns. For someone trying to manage their finances and budget in Denmark, these lost benefits can add up over time.
Diving into the Personal Rejsekort: The Local's Choice
Once you've settled into Denmark, obtained your CPR number, and perhaps even started the process for NemKonto and MitID: The Core of Danish Digital Finance (2027), upgrading to a personal Rejsekort is almost always the next logical step. This card is registered to you, opening up a world of convenience and financial protection that the anonymous card simply can't match.
Eligibility and Application Process
To apply for a personal Rejsekort, you absolutely need a Danish CPR number. This is the unique personal identification number that links you to Danish society, including its public services and, of course, public transport systems. You'll also generally need a Danish address for delivery.
The most common way to apply is online through the official Rejsekort website (rejsekort.dk). The process is fairly straightforward:
- Select your card type: There are different personal Rejsekort types, such as Rejsekort Flex (standard adult), Rejsekort Ung (youth), Rejsekort Barn (child), and Rejsekort Senior. Choose the one that fits your age and needs.
- Provide personal details: You'll enter your name, CPR number, date of birth, and contact information. You’ll also need to upload a digital photo of yourself that meets specific requirements (think passport photo style). This photo will be printed on your card for identification purposes.
- Set up auto-refill (optional but recommended): This is where you link your Danish bank account (via your NemKonto) to your Rejsekort. You decide on a threshold (e.g., when your balance drops below 50 DKK) and a top-up amount (e.g., 200 DKK).
- Confirm and pay: There's usually a one-time card fee, similar to the anonymous card.
After applying online, there's typically a waiting period for the card to be produced and mailed to your registered address. This can take anywhere from 10 to 14 business days, sometimes longer during busy periods. This waiting period is one of the initial frustrations for new expats, highlighting why the anonymous card is useful in the interim. However, once it arrives, you’re officially a part of the system.
Benefits that Make It Worth the Effort
The personal Rejsekort comes with a host of advantages that significantly enhance your public transport experience in Denmark. The standout benefit for many is the auto-refill (Tank Op Aftale) feature. You link your card to your bank account, and when your balance dips below a set amount, it automatically tops itself up. This completely eliminates the stress of running out of money on your card mid-journey or constantly having to find a top-up machine. Many expats consider this feature alone to be worth the initial setup. For a detailed guide on this, check out How to Top Up a Rejsekort Automatically via Credit Card.
Secondly, balance protection is a massive relief. If you lose your personal Rejsekort, you can report it missing online or by phone. The card will be blocked, and any remaining balance can be transferred to a new card or refunded to your bank account. This peace of mind is invaluable, especially if you're like me and prone to misplacing things! You also gain access to a personalized travel overview online. You can log in to rejsekort.dk with your MitID to see your recent journeys, fares, and balance history. This is incredibly helpful for budgeting, tracking expenses, or even just confirming you remembered to check out on a particularly hectic day.
Moreover, certain personal Rejsekort types offer specific discounts. For example, the Rejsekort Ung (youth card) provides substantial savings for students and young adults. While a direct "monthly pass" isn't a Rejsekort feature, the system often calculates the cheapest possible fare for frequent travelers, and it integrates well with Commuter Passes (Pendlerkort): Saving Money on Daily Train Rides if you opt for a combination. It truly is the smart way to travel if you're living in Denmark long-term.
Setting Up and Managing Your Personal Rejsekort Online
Once your personal Rejsekort arrives in the mail, the next step is to activate and manage it through the online portal at rejsekort.dk. This is where your MitID truly shines as your key to Danish digital life.
- Activation: Follow the instructions that come with your card. You'll typically need to log in to rejsekort.dk using your MitID to link the physical card to your online profile.
- Auto-Refill Management: If you didn't set it up during the application, or if you want to change your settings, log in to the portal. You can adjust the auto-refill threshold and amount. For example, if you find yourself traveling more frequently, you might want it to top up 300 DKK when your balance hits 75 DKK, instead of 200 DKK at 50 DKK. This flexibility ensures you always have enough credit.
- Travel History and Receipts: The online portal is a fantastic resource for reviewing your past journeys. You can see exactly when and where you checked in and out, the zones traveled, and the cost. This is not only useful for personal budgeting but can also come in handy if you ever need receipts for work-related travel expenses.
- Reporting Lost or Stolen Cards: In the unfortunate event that your card goes missing, logging into the portal is the quickest way to block it and protect your balance. The system will guide you through the process of ordering a replacement.
- Changing Personal Information: If you move address or change your name, you can update these details through the portal, ensuring your card information remains current.
Managing your Rejsekort online provides a level of control and transparency that is simply not available with an anonymous card. It's a prime example of Denmark's commitment to digital solutions making everyday life more efficient.
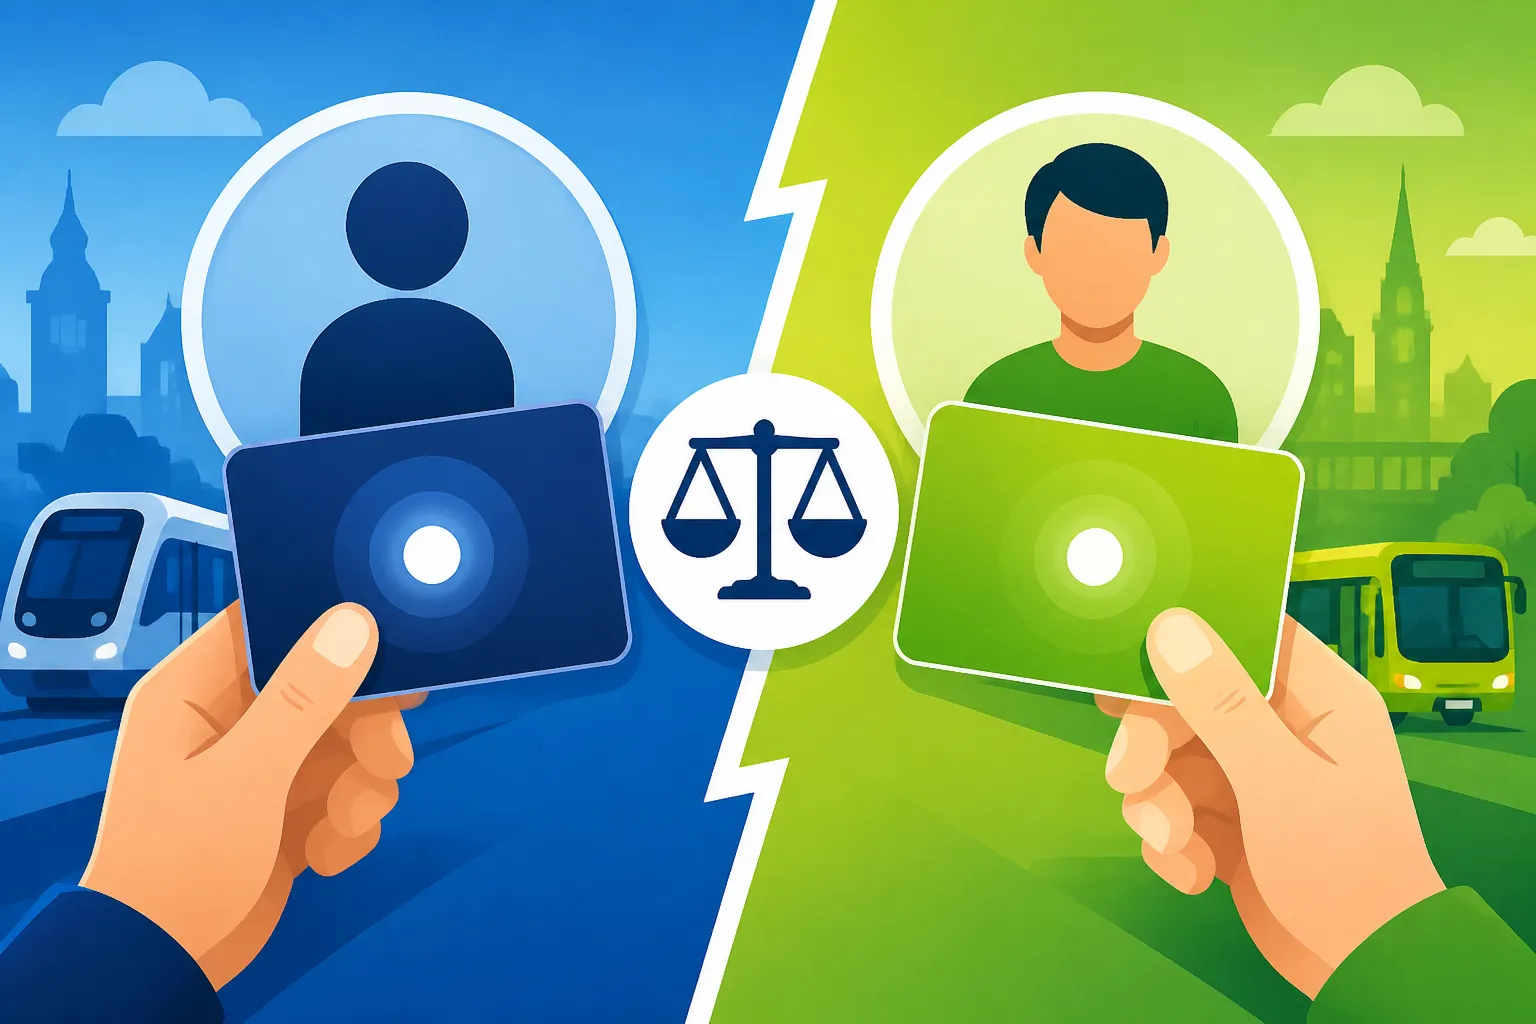
Here's a quick comparison of the two main Rejsekort types:
| Feature | Anonymous Rejsekort | Personal Rejsekort (e.g., Flex) |
|---|---|---|
| CPR Number Required | No | Yes |
| Photo Required | No | Yes (for identification) |
| Purchase Location | 7-Eleven, train/Metro stations | Online (rejsekort.dk) |
| Delivery Time | Immediate | 10-14 business days (mailed) |
| Card Fee (approx.) | 80 DKK | 80 DKK |
| Minimum Top-Up | 100 DKK | 100 DKK (initial) |
| Auto-Refill | No | Yes (linked to NemKonto) |
| Lost Card Protection | No (balance lost) | Yes (balance recoverable, card blocked) |
| Online Travel History | No | Yes (via rejsekort.dk with MitID) |
| Specific Discounts | No (only general Rejsekort discounts) | Yes (e.g., Rejsekort Ung, specific zone discounts) |
| Target User | Tourists, short-term visitors, new arrivals | Long-term residents, students, daily commuters |
| Identification | Not linked to individual | Linked to individual, photo on card |
Mastering the Check-In/Check-Out Dance
This is arguably the most critical aspect of using your Rejsekort. Forget this, and you'll quickly learn an expensive lesson. The system is built on this two-step process, and understanding its nuances will save you both money and headaches.
The Golden Rule: Always Check In and Out
Let me repeat this from one expat to another: always, always, always check in and check out. It sounds simple, but it's easy to forget, especially when you're distracted, in a hurry, or navigating an unfamiliar station. When you check in, you tap your card on the blue card reader (which will typically light up green and give a short beep). When you get off the bus, leave the Metro, or exit the train station, you must tap it on an exit reader (which is usually a blue reader with a green square that lights up, often labeled "Check ud"). If you forget to check out, the system assumes you traveled to the furthest possible point in the network and charges you the maximum fare, which can be over 50 DKK for a short trip, or even 800 DKK for a very long one! This is the most common and painful mistake foreigners make.
The system is quite robust, but it can be tricky when switching transport. For instance, if you take a bus and then transfer to the Metro, you don't need to check out from the bus and then check in again on the Metro, as long as your transfer is within a certain time limit (usually 30-60 minutes depending on the zone). You simply check in on the bus, and then check out when you're done with your entire journey at the Metro station. The system intelligently handles transfers. However, if you take a break in your journey, perhaps stopping for coffee, and then continue your trip after the transfer window expires, you do need to check out from your first leg and then check in again for your second. It's a bit of a learning curve, but once you get it, it becomes second nature. If you receive a fine because you forgot to check out, you can often appeal it, especially if it's your first time, but it's a hassle to be avoided. Check out Getting a Fine on the Train (Kontrolafgift): How to Appeal for more details.
Navigating Different Scenarios: Transfers and Errors
Denmark's public transport network is incredibly well-integrated, and the Rejsekort system is designed to reflect that.
- Transfers: As mentioned, if you're changing from one mode of transport to another (bus to Metro, S-train to regional train) within the designated transfer time (which varies based on the number of zones you cover, roughly 30 minutes per zone), you simply stay checked in. Your journey continues, and the system calculates one continuous fare when you finally check out. This seamless transfer is one of the best features of the Rejsekort.
- Forgetting to Check Out: We've all been there, or will be. You rush off the train, distracted, and completely forget to tap out. What then? Firstly, check your balance on the Rejsekort app or at a Rejsekort machine. If you see an unusually high deduction, you've likely forgotten. You can contact Rejsekort customer service (their number is usually on the back of your card or on their website) within a few days to explain what happened. Often, for first-time offenders, especially with a plausible explanation, they might be able to adjust the fare. It's not guaranteed, but it's worth a try.
- Card Errors: Sometimes, the card reader might not register your tap, or your card might have an issue. If the reader flashes red or displays an error message, try again. If it still doesn't work, you might need to try a different reader or, if all else fails, buy a single ticket for that journey. Keep an eye on your balance using the Rejsekort app (which is very useful for checking your current balance and recent trips) or by logging into your online profile.
Understanding these scenarios helps you navigate potential pitfalls and ensures you get the most out of your Rejsekort. It’s all about becoming savvy with the system.
Practical Tips and Common Expat Frustrations
Even with the best intentions, things can go awry. Knowing what to do when your Rejsekort throws a curveball, or how to integrate it smoothly into your Danish routine, is what turns a good traveler into a great one.
What to Do If You Forget Your Card or It Stops Working
Life happens, and sometimes you just forget your Rejsekort at home, or it decides to be temperamental.
- Forgotten Card: If you realize you've left your personal Rejsekort at home (and don't have an anonymous one as backup), you have a few options. The easiest is to use the DOT Tickets app (for Copenhagen and Zealand) or a similar regional app to buy a single ticket for your journey. These apps allow you to buy tickets directly from your phone and show them to a conductor or driver. You can also buy a paper ticket at a station machine. Just don't get on without a valid ticket, as the fines are steep, and inspectors are common, especially on trains.
- Card Stops Working: If your Rejsekort isn't scanning, try wiping it clean (sometimes dirt can interfere with the chip). If that doesn't work, try a different reader. If the issue persists, and it's a personal card, contact Rejsekort customer service. They can diagnose issues, arrange a replacement if necessary, and potentially transfer any remaining balance. If it's an anonymous card, unfortunately, a non-functional card usually means it's time to buy a new one, and any remaining balance is likely lost. This is another strong argument for getting a personal card as soon as you have your CPR number.
Integrating Rejsekort with Your Danish Life
The Rejsekort isn't just a piece of plastic; it's a tool that integrates seamlessly with many aspects of Danish daily life, especially when paired with digital solutions.
- The Rejseplanen App: This is your absolute best friend for public transport in Denmark. The Best Apps for Daily Life in Denmark: MobilePay, Rejseplanen, and e-Boks guide will tell you more, but Rejseplanen (literally "Travel Plan") provides real-time schedules, journey planning, and even shows you which platform to go to. It works perfectly with your Rejsekort usage.
- NemKonto for Auto-Refill: As soon as you set up your Danish bank account and get your NemKonto, prioritize linking it to your personal Rejsekort for auto-refill. This eliminates one major logistical worry.
- Considering Other Transport Options: While the Rejsekort is fantastic, remember that Denmark is a cycling nation! For shorter distances, a bike might be faster and cheaper. Your Rejsekort can even be used to buy a separate ticket for your bicycle if you want to bring it on the S-train or Metro during off-peak hours. Check out Can You Take a Bicycle on the S-Train and Metro? for the rules.
- Understanding Zones: The pricing on your Rejsekort is heavily dependent on zones. Familiarize yourself with how Navigating Zones in Copenhagen: How Ticket Pricing Works and elsewhere impacts your fare. Most online journey planners will show you the zones involved in your trip.
Embrace the Rejsekort, understand its quirks, and you'll find that navigating Denmark's public transport system is not just efficient but also surprisingly pleasant. It's one of those foundational pieces of the expat puzzle that, once solved, makes everything else a little bit easier.
Disclaimer
The information provided in this guide is intended for general informational purposes only and may not constitute the most current legal or administrative advice. While every effort has been made to ensure accuracy, regulations and procedures in Denmark, particularly concerning public transport and personal identification, can change. Readers are strongly advised to consult official Danish government websites, such as rejsekort.dk and borger.dk, or seek professional guidance for specific situations.