FI-Kort (Girokort) Explained: How to Pay Yellow Invoices in Netbank
You have just settled into your new apartment in Copenhagen or Aarhus, the boxes are half-unpacked, and you finally feel like you are getting the hang of things. Then, you open your physical mailbox—or more likely, your digital post—and find a document with a strange yellow section at the bottom covered in cryptic numbers and symbols like +71 and >. This guide explains exactly how to decode the FI-Kort, also known as a Girokort, and how to pay these invoices through your Danish Netbank without the stress of missing a deadline.
The Mystery of the Yellow Invoice in a Cashless Society
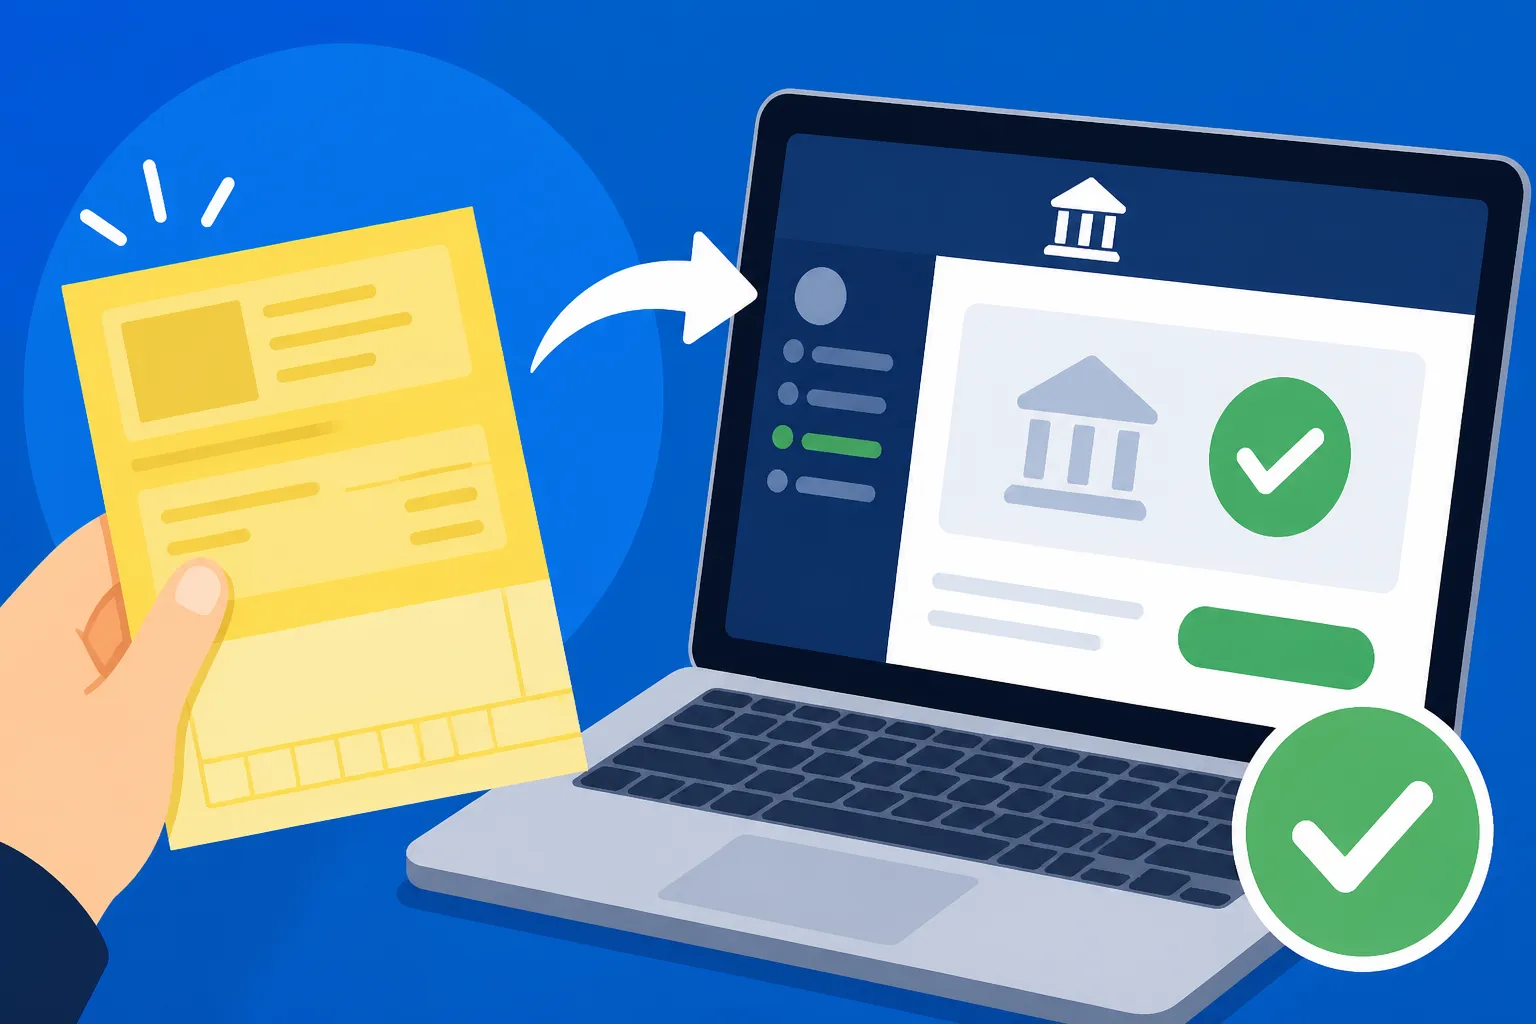
When I first moved to Denmark, I was told the country was entirely digital and cashless. Imagine my surprise when I received a physical piece of paper in the mail for my first media license payment. At the bottom was a perforated yellow slip called an FI-Kort (short for Fælles Indbetalingskort). Even if you receive your bills digitally via E-Boks vs. Mit.dk: Receiving Official Financial Mail from the State, the "yellow card" format remains the standard for almost every official transaction in the country.
The FI-Kort is essentially a standardized payment slip that allows the Danish banking system to automate the reconciliation of payments. For us expats, it looks like something from a bygone era, but for a Danish business or government office, it is the most efficient way to ensure your money is credited to the correct account. Whether it is a parking fine, a utility bill, or a tax payment, understanding the string of numbers at the bottom is your first step toward financial integration.
If you are still in the process of setting up your local finances, you might find that Traditional Banks vs. Digital Banks (Lunar): Which is Best for Expats? will offer different levels of ease when it comes to scanning these slips. Most modern Danish bank apps allow you to simply point your camera at the slip, but the manual process is still something you must master for those moments when the technology fails or the PDF quality is too poor for your phone to read.
Decoding the Anatomy of a Girokort
The most intimidating part of the FI-Kort is the "OCR line" at the very bottom. This line contains three distinct sets of information separated by specific symbols. To pay the bill in your Netbank, you will be asked to choose a "Payment Type" (Betalingsform) and then enter the reference numbers exactly as they appear.
The Payment Type Code
On the far left of the bottom line, you will see a two-digit code preceded by a plus sign, such as +71, +73, or +75. This is the "Kortart" or card type. Each code tells the bank what kind of information is required to process the payment. For example, a +71 card requires a specific payment reference number, whereas a +04 might not. When you go to pay a bill in your Netbank, the first thing you do is select this number from a dropdown menu.
The Payment Reference Number
In the middle of the OCR line is a long string of digits, usually ending with a ">" symbol. This is the unique identifier for your specific invoice. It tells the company exactly who is paying and which invoice is being settled. If you miss a single digit here, your payment might go into a "suspense account," and you will still receive a late fee because the company couldn't match the money to your name.
The Creditor Number
On the far right is the "Kreditornummer." This identifies the company or institution receiving the money. In the Danish system, every business that wants to use the FI-Kort system is assigned a unique creditor number. You do not need a traditional IBAN or SWIFT code when paying via FI-Kort; the creditor number replaces the need for an account number in the traditional sense.
| Code Type | Common Usage | Required Info |
|---|---|---|
| +71 | Private companies, phone bills, internet | Reference Number & Creditor Number |
| +73 | Non-profits, one-time donations | Creditor Number (Reference is optional) |
| +75 | Utilities, rent, taxes | Reference Number & Creditor Number |
| +01 | Simple bank transfers | Account Number & Bank Code |
| +04 | Government fines or small fees | Reference Number & Creditor Number |
Step by Step Guide to Paying via Netbank
Once you have your Danish bank account ready—and if you haven't done that yet, check the Opening a Bank Account in Denmark: Document Checklist and Delays—you can follow these steps to clear that yellow invoice.
Step 1: Navigate to Pay Bill
Log in to your Netbank using your MitID. Look for a button that says "Betal regning" (Pay bill) or "Overførsel" (Transfer). Most Danish banks have a dedicated section specifically for FI-Kort because they are so common. If you are using a mobile app, look for a camera icon; this is the "Scan" feature which saves you from typing the long strings of numbers.
Step 2: Choose the Payment Form
Your bank will ask you to select the "Betalingsform" or "Kortart." Look at the bottom left of your yellow slip. If it says +71, select "71" from the list in your bank app. This is crucial because it changes the input fields. If you select 71 but the slip is a 75, the bank will tell you the reference number is the wrong length.
Step 3: Enter the Reference and Creditor Numbers
Type in the long string of numbers in the middle (the reference) and the shorter string on the right (the creditor number). Do not include the "+" or ">" symbols; the bank app usually adds those automatically or ignores them. Always double-check the last few digits. A common mistake is swapping an "8" for a "0" when reading a printed slip.
Step 4: Set the Date and Confirm
You can usually choose to pay the bill immediately or schedule it for the due date (forfaldsdato). It is wise to scheduling it for a few days before the actual deadline. Once you click "Confirm," you will likely need to swipe or approve the transaction via your MitID app.
If you are managing your taxes and find that a slip from the tax authorities is particularly confusing, services like Taxes for Expats can help clarify what you actually owe, especially if you are navigating the complex intersection of Danish and foreign tax liabilities. For those who are still waiting for their Danish bank account to be fully functional, you might try using Wise to hold DKK, though be aware that Wise does not always support the specific OCR line format required for FI-Kort, meaning you might need to find a friend with a local account to help you out initially.
Common Pitfalls and How to Avoid Them
The most common frustration for foreigners is the "Rykkergebyr" (reminder fee). In Denmark, if you are even one day late, many companies will automatically issue a reminder with a 100 DKK fee attached. This is perfectly legal and very common. Because the postal service can be slow, many expats don't even see the first bill before the second one arrives with a fee.
The Digital Post Trap
Many utility companies have stopped sending physical yellow slips. Instead, they send a PDF to your E-Boks. If you aren't checking your digital mail weekly, you will miss these. When you open the PDF, scroll to the very bottom; the yellow slip is usually there in digital form. You will need to copy and paste the OCR line into your Netbank. Using MobilePay and Cashless Denmark: Surviving Without Physical Cash is another way to pay some bills, but the FI-Kort remains the "official" method for larger institutions.
Misreading the Numbers
The font used on some FI-Kort slips is a bit old-fashioned and can be hard to read. Specifically, the number "0" and the number "8" can look very similar if the printer was running low on ink. If your Netbank gives you an error saying "Ugyldigt referencenummer" (Invalid reference number), try re-reading the slip under a bright light.
Understanding SKAT: Forskudsopgørelse vs. Årsopgørelse Explained is also vital here, as your tax refunds or underpayment notices will almost always come with an FI-Kort. If you owe money to the tax office, they won't take it from your salary automatically; they will send you a "yellow slip" digitally and expect you to initiate the payment.
Automating Your Life with Betalingsservice
If the idea of manually typing in 15-digit codes every month sounds like a nightmare, you are right. The Danes agree. That is why almost everyone uses Betalingsservice: Automating Your Rent and Utility Bill Payments. This is a system where you "sign up" your recurring bills (rent, gym, insurance) so they are automatically deducted from your account.
When you pay an FI-Kort manually in your Netbank, there is usually a small checkbox at the end of the transaction that asks: "Tilmeld til Betalingsservice?" (Sign up for Betalingsservice?). If you check this, the bank will ask for your CPR number and then handle all future invoices from that specific company for you. It is the single best way to avoid late fees in Denmark.
However, be careful. Some bills, like a one-time parking fine or a specific tax bill, should not be automated. Only use Betalingsservice for things that happen every month or every quarter. If you ever move, remember that you must manually cancel these agreements in your Netbank, or the money will continue to leave your account even after you have left the apartment.
Handling Invoices Without a Danish Bank Account
This is the ultimate "Catch-22" for many newcomers. You have a bill to pay, but you don't have a Danish bank account yet because your CPR registration is still processing. If you find yourself in this position, you have a few limited options.
First, you can take the physical yellow slip to a "Posthus" (post office) or certain kiosks like those found in Føtex or Bilka. However, they will charge a significant manual handling fee, often between 30 and 50 DKK, to process the payment for you. You will also need to pay in cash or with a Danish Dankort, which you likely don't have.
Second, you can try to use an international service like Wise. While Wise is excellent for many things, their "Bill Pay" feature for Denmark is inconsistent with the specific OCR requirements of the FI-Kort system. Often, you are better off asking a trusted colleague or friend to pay the bill for you via their Danish Netbank and then reimbursing them via a standard bank transfer or cash. Just make sure they enter your specific reference number so the payment is credited to you.
Navigating Taxes in Denmark Explained: A-Skat, AM-bidrag, and Marginal Rates will eventually lead you to more "yellow slips," so getting your local bank account sorted as a priority is the best long-term solution to avoid these administrative hurdles.
Important Terms to Know on Your Invoice
To truly master the FI-Kort, you need to recognize a few key Danish words that appear on the invoice. Knowing these can be the difference between a routine payment and a legal headache.
- Forfaldsdato: The date the payment is due.
- Sidste rettidige indbetalingsdag: The absolute last day you can pay without a penalty.
- Beløb: The amount you owe.
- Kreditor: The company you are paying.
- Indbetaler: You (the person paying).
- Rykker: A reminder notice (usually means you are already late).
- Giro: Often used interchangeably with FI-Kort.
If you see the word "Inkasso" on your bill, stop everything. This means the bill has been sent to debt collection, and you need to pay it immediately to avoid serious credit consequences. In Denmark, the RKI registry is a "blacklist" for people with unpaid debts, and being on it will prevent you from getting a phone contract or a mortgage for years.
Healthcare in Denmark for Foreign Residents: Complete System Guide (2026)
Even your interactions with the healthcare system might involve these yellow slips. While the public system is mostly free, you will receive FI-Kort invoices for things like dental work or certain specialist treatments that aren't fully covered. If you have private insurance, you often have to pay the FI-Kort yourself first and then upload a screenshot of the paid receipt to your insurance provider for reimbursement.
Always keep a digital copy or a screenshot of the "Receipt" (Kvittering) page that appears in your Netbank after you pay an FI-Kort. Companies occasionally lose track of payments, and having that transaction ID is the only way to prove you settled the debt.
Summary of the FI-Kort Workflow
- Receive the bill: Check your physical mailbox and your E-Boks/MitID regularly.
- Locate the OCR line: Look at the very bottom for the +71, +75, etc.
- Open Netbank: Use the scan feature if possible to avoid typos.
- Confirm the amount: Ensure it matches the "Beløb" stated on the invoice.
- Save the receipt: Take a screenshot for your records.
- Automate: If it's a recurring bill, sign it up for Betalingsservice immediately.
Living in Denmark requires a bit of an "administrative "mindset shift. The system is designed to be highly automated, but only once you have input the correct data into the machine. The FI-Kort is the interface between your money and the Danish state. Once you master the +71 and the long strings of digits, you’ll find that managing your finances here is actually quite streamlined—just don't let those yellow slips pile up on your kitchen counter.
Disclaimer
This guide is intended for informational purposes only and does not constitute professional financial or legal advice. Rules regarding banking, taxation, and payment systems in Denmark are subject to change by the relevant authorities. Always verify the details of your specific invoice with the issuing creditor or your banking institution before making a payment. Use of third-party services like Wise or Taxes for Expats is at the user's own discretion and risk.