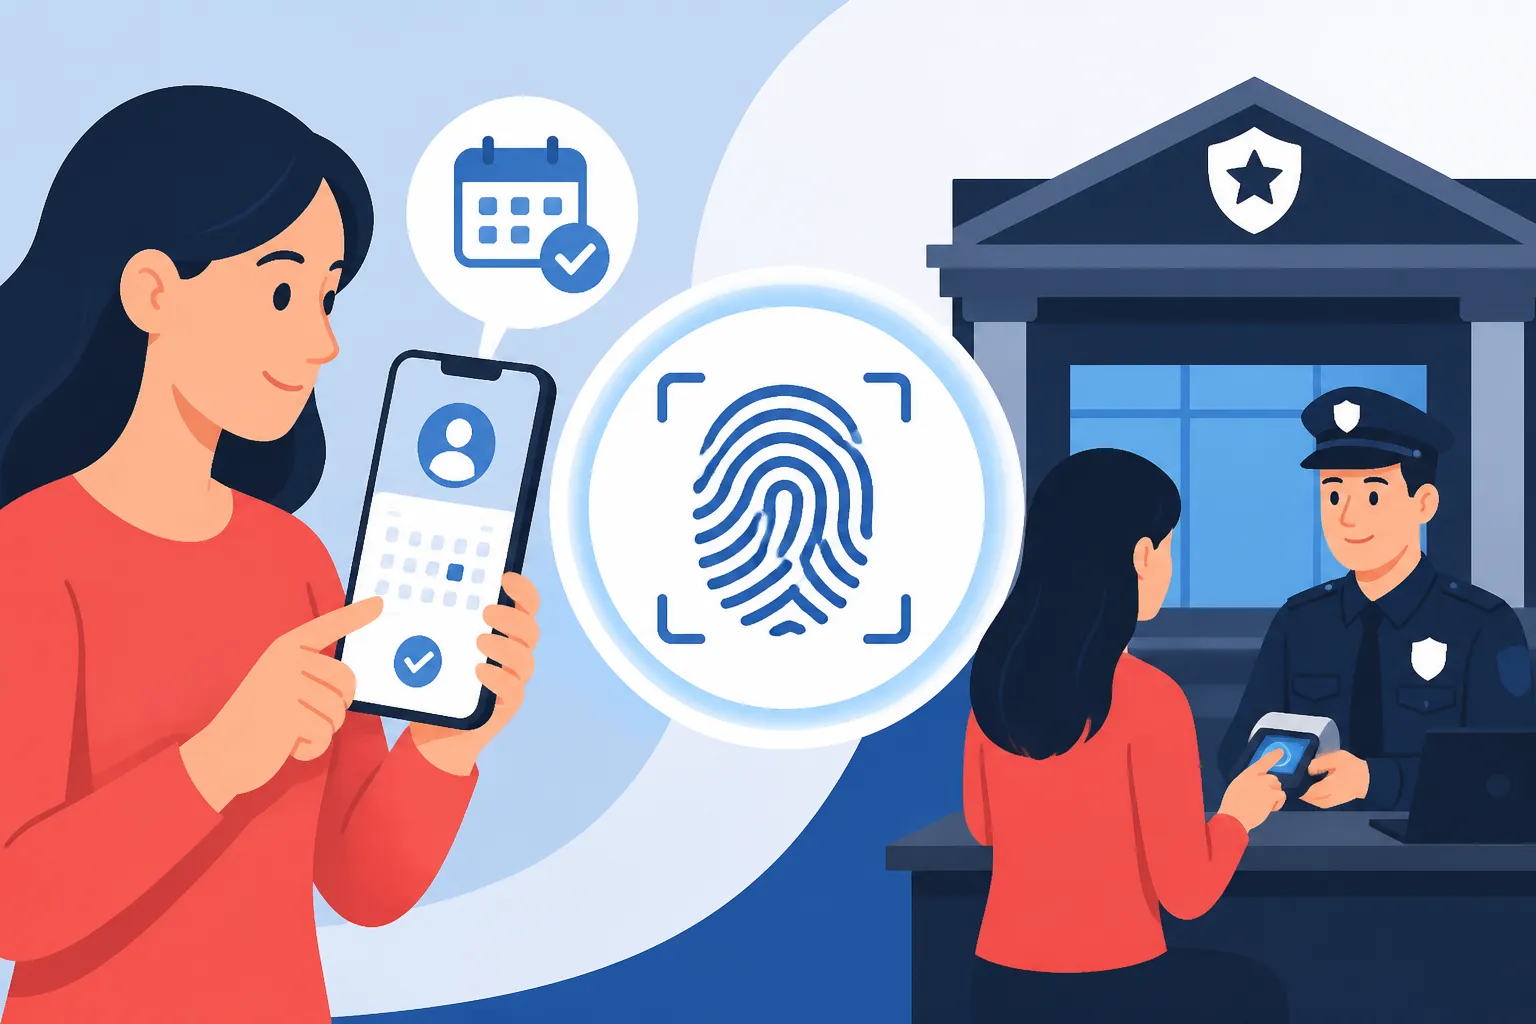
Submitting Biometrics for SIRI: Booking Appointments and Police Stations
Navigating the labyrinthine world of Danish immigration can often feel like a never-ending series of hoops to jump through, and getting your biometrics submitted to SIRI is undoubtedly one of those crucial, and sometimes anxiety-inducing, steps. It’s not just a formality; it's a vital part of proving who you are to the Danish authorities. This guide aims to demystify the process of booking your biometric appointment and what exactly to expect when you head to a police station in Denmark.
Understanding Biometrics in the Danish Context
Before we dive into the nitty-gritty of booking, let’s clear up what biometrics mean in the Danish immigration system. Many expats, especially those coming from countries with less stringent identity verification, find this step a bit opaque. It’s perfectly normal to feel a little lost in the administrative fog – you’re certainly not the first, nor will you be the last!
What Exactly Are Biometrics for SIRI?
When SIRI (the Danish Agency for International Recruitment and Integration) asks for your biometrics, they're primarily referring to your fingerprints and a digital photograph of your face. These are collected to create a secure, unique identifier linked to your residence permit. Think of it as an extra layer of security, making sure that the person holding the residence card is indeed the person it was issued to. This data is stored securely and used to verify your identity, especially when you apply for extensions or later, even Permanent Residency (Permanent Opholdstilladelse). It’s not about tracking your every move; it’s about identity verification in an increasingly digital and globalized world.
The digital photograph will be the one that appears on your physical residence permit card. It needs to meet specific Danish passport photo requirements, much like any official ID photo – neutral expression, looking directly at the camera, no glasses that obscure the eyes, and a light, uniform background. The fingerprints, usually from all ten fingers, are digitally scanned. This is a quick and painless process, involving placing your fingers on a scanner plate. Rest assured, it's not like the old ink-and-paper method you might have seen in movies!
Who Needs to Provide Biometrics and Why?
Almost everyone applying for a residence permit in Denmark needs to provide biometrics. This isn't just for work or study visas; it applies across the board. Whether you’re coming to Denmark under the Pay Limit Scheme, the Positive List Scheme, or even for Family Reunification, this step is mandatory. There are very few exceptions, typically only for very young children (under six years old) or individuals physically unable to provide fingerprints. Even if you’ve provided biometrics for a Schengen visa in the past, or another country’s visa, you’ll likely need to do it again for your Danish residence permit. Each country has its own system, and Denmark is no different in wanting its own, direct records.
The 'why' is straightforward: security and integrity of the immigration system. Your biometrics help prevent identity fraud and ensure that only rightful residents receive permits and access to Danish services. It's also an international standard; many countries now require biometrics for long-term visas and residence permits as part of broader efforts to manage immigration and border security. So, while it might feel like another hurdle, it’s a standard procedure designed to protect both you and the system.
The Application Process and Biometric Invitation
The biometric submission isn't the very first step in your journey to live in Denmark. It slots into the overall application process after you've formally submitted your residence permit application, typically online through SIRI's portal. This sequential nature can sometimes feel like a drag, especially when you're just eager to get your shiny new residence card.
Receiving the Biometric Invitation Letter
Once SIRI has received and initially processed your application, they will send you an official invitation to submit your biometrics. This crucial document, often called a "Letter to provide biometrics," will be sent to the digital postbox you’ve set up (e-Boks or Mit.dk) or, if you haven’t yet registered for digital post, to the postal address you provided in your application. It’s absolutely vital to keep an eye out for this letter, as it contains all the necessary information, including your case number and instructions on how to book an appointment.
My advice? Check your digital post religiously. Even if you're not officially registered for digital post yet, if you've provided a CPR number in your application, mail might start flowing there. If you're still abroad or don't have a CPR number yet, ensure the physical address you've given is reliable. This letter is your golden ticket to the next stage, and without it, you can't book your appointment. Remember, you might be waiting for several weeks or even a couple of months after submitting your main application before this letter arrives, depending on current SIRI processing times. It's a waiting game, I know, but patience is key here.
Deadlines and Consequences of Missing Them
The biometric invitation letter isn’t just an invitation; it’s a summons with a deadline. Typically, you will have a specific timeframe – often around 14 days, but always check your letter – within which you must book and attend your biometric appointment. Missing this deadline can have serious consequences, ranging from your application being rejected to delays that could significantly impact your ability to start work or studies. Imagine finally getting your work permit approval, but then realizing you missed the biometric deadline and now face weeks of further delays – it’s a nightmare you definitely want to avoid!
If, for any unavoidable reason (like a sudden illness or an emergency), you believe you cannot meet the deadline, you must contact SIRI immediately. Explain your situation and ask for guidance. Do not just let the deadline pass. Proactive communication is always better than reactive damage control when dealing with Danish authorities. They appreciate promptness and a clear explanation, rather than discovering a missed deadline after the fact. Seriously, keeping an eye on your official mail and responding swiftly to anything from SIRI is one of the most important lessons you'll learn as an expat in Denmark.
Booking Your Biometric Appointment
Once that invitation letter lands in your digital postbox, the next step is to book the actual appointment. This part of the process, while digital, can still present its own set of challenges, particularly when demand for appointments is high.
The Online Booking System: Borger.dk and SIRI's Portal
For most people, booking your biometric appointment means heading to the official government portal, Borger.dk. This website is the central hub for countless administrative tasks in Denmark, and it's where you'll find the link to SIRI's booking system. You’ll need your MitID to log in and access the booking functionality. If you haven't sorted out your MitID yet, you'll need to do that first – it's basically your digital signature and key to almost everything official in Denmark. You can read up on getting your NemKonto and MitID: The Core of Danish Digital Finance (2027) for a smoother financial setup.
Once logged in, navigate to the section for SIRI or residence permits, and follow the prompts for booking a biometric appointment. You’ll need the case number from your invitation letter to proceed. The system will show you available slots at various police stations across Denmark. Be prepared: depending on your location and the time of year, available appointments might be scarce, and you might have to travel a bit further than you’d ideally like. Flexibility with your schedule and location will be your best friend here.
What to Do If You Can't Find an Appointment
This is a common frustration, especially if you live in a less populated area or if you're trying to book during peak immigration periods (like the start of university semesters). You log in, full of hope, only to find no slots for weeks or months. This can be truly disheartening, and I've seen countless expats tearing their hair out over this. Don't panic just yet.
Here's the expat hack: keep checking the booking portal. New slots are often released unpredictably, and cancellations happen. Many people find success by checking late at night or early in the morning. Also, expand your search radius. While it might be inconvenient to travel from Aarhus to Kolding, or from Odense to Esbjerg, getting that appointment booked within the deadline is paramount. If you're in Copenhagen, consider looking at police stations in nearby towns, not just the central ones. The most important thing is securing an appointment, even if it means a little extra travel. If your deadline is truly looming and you’ve exhausted all options, contacting SIRI directly to explain your predicament and ask for assistance is the final resort. Be prepared for a wait on the phone, but persistence often pays off. Sometimes, they might be able to manually book you into a slot, or at least advise on alternative solutions.
Where to Submit Biometrics: Police Stations Across Denmark
Unlike some countries where you go to a dedicated immigration office for biometrics, in Denmark, this process is handled by the local police. This can be a bit surprising for newcomers, but it’s a well-established system here.
General Guidelines for Police Stations
Your biometric appointment will take place at a specific police station that handles these types of administrative tasks. It's not usually the main police emergency response station, but rather an administrative office. Always double-check the address provided in your booking confirmation, as police stations can sometimes have multiple locations or different departments. When you arrive, you’ll typically be directed to a waiting area. Danes are big on efficiency and queues, so follow any signage or instructions carefully. There might be a ticket system (like in a bakery or public service office), so grab a number if you see one.
Remember, you are going to a police station, so while the staff handling biometrics are generally friendly and professional, it’s a formal environment. Be polite, clear, and have all your documents ready. Don't be late – Danish punctuality is a real thing, and being on time shows respect for their system and the next person's appointment.
Specific Locations and Their Nuances
While any police station capable of taking biometrics follows the same general procedure, there can be slight variations in experience.
- Copenhagen: The main location for biometrics is often at a specific police service center rather than a general police station. For example, the Copenhagen Police, Department for Visa and Residence Permits (Københavns Politi, Visum og Opholdstilladelser) often handles these. It's usually a dedicated, well-organized setup. Given the sheer volume of expats in Copenhagen, these locations are usually very experienced with the process.
- Aarhus: Similar to Copenhagen, Aarhus has a designated department within the police system that manages residence permit matters, including biometrics. Look for Østjyllands Politi, Udlændingeafdelingen (East Jutland Police, Immigration Department).
- Odense, Aalborg, Esbjerg: In smaller cities, the local main police station might have a specific counter or office dedicated to immigration and citizen services.
Always consult your booking confirmation for the exact address and any specific instructions for your location. The key is to avoid showing up at a random police station expecting them to know what to do; it needs to be the specific one designated for biometric appointments.
The Experience: What Happens at the Police Station
Your actual appointment will be relatively quick and straightforward. You'll check in, possibly by scanning your Yellow Health Card (Sundhedskort) or residence permit card if you already have one, or just by stating your name and case number. You'll then wait for your turn. When called, you’ll present your identification (your passport and the invitation letter) to the officer or staff member.
First, they will take your digital photograph. They’ll instruct you on where to stand or sit, usually against a plain background. Make sure your hair is off your face and you have a neutral expression. Then, it's time for fingerprints. You'll place each finger, and sometimes both thumbs simultaneously, onto a small digital scanner. The staff member will guide you through this, ensuring clear prints are captured. If any print isn't clear, they'll ask you to try again. The whole process, from check-in to walking out the door, usually takes no more than 15-20 minutes, assuming you've been punctual and have all your documents in order. It's much less intimidating than it sounds, honestly.
Preparing for Your Appointment
Going into your biometric appointment unprepared can lead to unnecessary stress and even delays. A little foresight goes a long way in navigating Danish bureaucracy. Trust me, I've learned this the hard way more times than I care to admit!
Essential Documents to Bring
This is where organization truly pays off. Here's a rundown of what you absolutely must bring:
- Your Original Passport: This is non-negotiable. It must be valid, and it’s the primary form of identification linking you to your application. Make sure it's the same passport you used when applying for your residence permit.
- The Biometric Invitation Letter: This letter, sent by SIRI, contains your case number and confirms your appointment. Print it out or have it readily accessible on your phone.
- Your Booking Confirmation: If you received a separate email or digital confirmation after booking your appointment, bring that too.
- Any Other Supporting Documents: While usually not required at the biometric appointment itself, it's always a good idea to bring a copy of your initial residence permit application and any other key documents (like a work contract or university admission letter) just in case there's a query about your identity or case. Better safe than sorry, as they say!
Important Note on Translations: If any of your supporting documents (like birth certificates or marriage certificates, should they be requested) are not in Danish or English, they generally need to be officially translated. Services like RushTranslate or Translayte are often used by expats for reliable and certified translations. However, for the biometric appointment itself, usually only your passport and the SIRI invitation are strictly needed.
What to Expect During the Fingerprint and Photo Capture
The actual capturing of your biometrics is usually a very quick and professional process. The police staff or immigration officer will guide you through it. For the photo, you'll be asked to stand or sit against a neutral background. They need a clear, unobstructed view of your face. No hats, no sunglasses, and typically no elaborate hairstyles that obscure your facial features. A neutral expression, eyes open and looking straight ahead, is standard. Think of it like a passport photo booth, but with a real person ensuring quality.
For fingerprints, you'll place your fingers on a digital scanner. They'll typically start with one hand, scanning each finger individually, then the other hand. Finally, they might ask for both thumbs or all four fingers (excluding the thumb) to be placed simultaneously. The machine is clean, and the process is entirely non-invasive. If your hands are very dry, or if you work with your hands and have worn fingerprints, they might ask you to moisten your fingers slightly. They are trained to get clear prints, so just follow their instructions, and it will be over before you know it. It’s a completely digital process, so there's no ink involved, and you won't leave with smudged fingers.
Common Challenges and How to Overcome Them
Despite the straightforward nature of the process, expats sometimes encounter minor hiccups. Here are a few common ones and how to handle them:
- Language Barrier: While many police staff speak English, it’s not guaranteed. If you feel there's a misunderstanding, speak slowly and clearly. Having your invitation letter and passport ready for them to review visually can often bridge any communication gaps. Most of the process is visual anyway.
- Unclear Fingerprints: If your fingerprints are faint or difficult to capture (e.g., due to manual labor, very dry skin), the officer might ask you to try several times or adjust your finger placement. Don’t get frustrated; just cooperate. Sometimes, rubbing your fingers together or using a little hand cream before the appointment can help, but avoid anything oily that might leave a residue on the scanner.
- Photo Issues: If your photo doesn't meet the standards (e.g., reflections from glasses, incorrect head position), they will retake it. It’s for your official ID, so they need it to be perfect.
- Identification Discrepancies: Ensure the name on your passport exactly matches the name on your invitation letter and application. Even minor differences, like a middle name being abbreviated or missing, can cause issues. If you’ve had a name change since applying, make sure you have the official documentation (like a marriage certificate) translated and ready to present. This kind of document, if needed, would absolutely benefit from certified translation by services such as Translayte or RushTranslate.
- Missed or Lost Letter: If you never received your invitation letter or accidentally deleted it, contact SIRI immediately. They can usually re-send it or confirm your case details.
Here's a quick reference table to help you organize for your appointment:
| Aspect | What to Bring | What to Expect | What NOT to Do |
|---|---|---|---|
| Documents | Original Valid Passport, SIRI Invitation Letter, Booking Confirmation | Officer will verify identity against these | Forget your passport, bring only copies |
| Appearance (Photo) | Clean, neutral expression, no head covering (unless for religious reasons) | Quick digital photo against a plain background | Wear hats/sunglasses, make funny faces, have messy hair |
| Fingerprints | Clean hands (avoid oily residue) | Digital scan of all ten fingers, follow instructions | Resist or withdraw hand, have dirty or overly dry hands |
| Attitude | Punctual, polite, patient, cooperative | Professional staff, efficient process | Arrive late, argue, become impatient |
| Communication | Clear, simple English (if Danish is not an option) | Staff may speak English, but not guaranteed | Assume everyone speaks perfect English |
After Your Biometric Appointment
You've done it! You've navigated the booking system, arrived on time, and successfully submitted your biometrics. Now comes the part that most expats dread: the waiting game.
The Waiting Game: What SIRI Does With Your Biometrics
Once your biometrics are captured, they are electronically sent to SIRI and linked to your existing application. This doesn't mean your residence permit decision is instantly made, unfortunately. Your biometrics are just one piece of the puzzle. SIRI still needs to process the rest of your application, verify all your documents, and make a final decision. The processing times for your specific type of visa (e.g., Working in Denmark: Job Market, Flexicurity, and Getting Hired (2027), Studying in Denmark: Admissions, Student Visas, and Campus Life, or Family Reunification (Familiesammenføring) in Denmark: Rules and Realities) can vary significantly, sometimes taking several weeks or even months after your biometrics have been submitted.
During this period, SIRI might still contact you if they need additional information or clarification on any part of your application. This is why it’s absolutely crucial to keep monitoring your digital postbox (Using e-Boks to Track SIRI Communications and Visa Approvals) regularly. Any request for further documentation usually comes with a strict deadline. Ignoring these can lead to delays or even rejection.
Tracking Your Application Status
SIRI does provide an online portal where you can track the general status of your application. You'll typically log in using your MitID. While it doesn't provide granular, real-time updates (like "fingerprints scanned," "photo uploaded"), it will eventually show statuses like "Application received," "Biometrics submitted," and finally, "Decision made." If you're wondering how long it takes for a decision to be processed, you can often find estimated processing times for different application types on SIRI's website. However, these are just estimates, and individual cases can always take longer.
Once a positive decision is made, you will receive another letter, usually via digital post, confirming the approval of your residence permit. This letter will also inform you that your physical residence card, incorporating your photo and fingerprints, is being produced and will be sent to your registered address (the one linked to your CPR number) via regular mail. This can take another 2-4 weeks after approval. If you're leaving Denmark temporarily before receiving your physical card, you might need to apply for a Re-entry Permits (Tilbagerejsetilladelse): Traveling While Waiting for Extension to ensure you can get back into the country without issues. The entire process, from initial application to holding your physical card, requires a lot of patience, but remember, each step, including biometrics, brings you closer to fully settling into your new life in Denmark.
Disclaimer
The information provided in this guide is for general informational purposes only and does not constitute legal advice. While we strive to keep the information up-to-date and accurate, regulations and procedures set by SIRI and the Danish authorities can change frequently. Always refer to the official websites of SIRI (newtodenmark.dk) and Borger.dk, or consult with an immigration lawyer for the most current and specific advice regarding your individual situation.